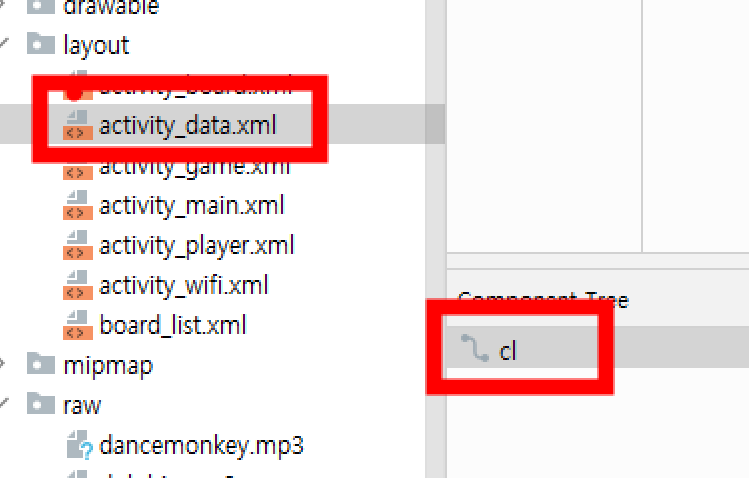
● Data 코드 및 화면
<?xml version="1.0" encoding="utf-8"?>
<androidx.constraintlayout.widget.ConstraintLayout xmlns:android="http://schemas.android.com/apk/res/android"
    xmlns:app="http://schemas.android.com/apk/res-auto"
    xmlns:tools="http://schemas.android.com/tools"
    android:id="@+id/cl"
    android:layout_width="match_parent"
    android:layout_height="match_parent"
    tools:context=".DataActivity">

    <Button
        android:id="@+id/btnRandom"
        android:layout_width="wrap_content"
        android:layout_height="wrap_content"
        android:text="랜덤 배경색"
        app:layout_constraintBottom_toBottomOf="parent"
        app:layout_constraintEnd_toEndOf="parent"
        app:layout_constraintStart_toStartOf="parent"
        app:layout_constraintTop_toTopOf="parent" />
</androidx.constraintlayout.widget.ConstraintLayout>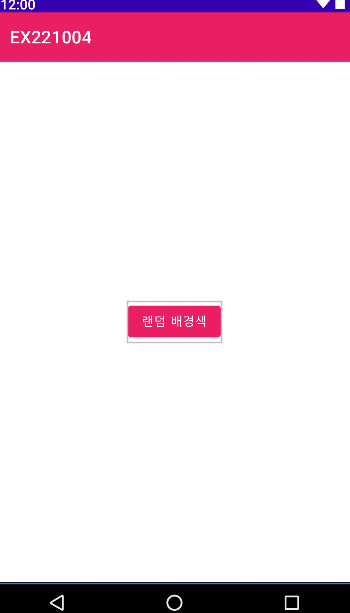
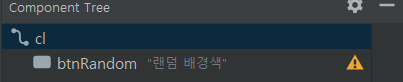
- Data 화면의 ID: - cl : Constaint Layout(바깥쪽 레이아웃)
- btnRandom: 색깔 랜덤하게 바꾸기
● DataActivity 코드
package com.example.ex221004;

import androidx.appcompat.app.AppCompatActivity;

import android.content.SharedPreferences;
import android.graphics.Color;
import android.os.Bundle;

import com.example.ex221004.databinding.ActivityDataBinding;

import java.util.Random;

public class DataActivity extends AppCompatActivity {

    ActivityDataBinding binding;
    Random random;
    int color;

    @Override
    protected void onCreate(Bundle savedInstanceState) {
        super.onCreate(savedInstanceState);
        binding = ActivityDataBinding.inflate(getLayoutInflater());
        setContentView(binding.getRoot());

        // SharedPreference

        SharedPreferences sp =getSharedPreferences("DB", MODE_PRIVATE);
        color = sp.getInt("color", 0);
        binding.cl.setBackgroundColor(color);

        random = new Random();

        binding.btnRandom.setOnClickListener(view -> {
            int red = random.nextInt(256);
            int green = random.nextInt(256);
            int blue = random.nextInt(256);

            int color = Color.rgb(red, green, blue);

            SharedPreferences.Editor editor = sp.edit();
            editor.putInt("color", color);
            editor.commit();

            binding.cl.setBackgroundColor(color);
        });
    }
}
※ SharedPreferences
데이터를 저장하기 위해선 3가지 방법이 있다.
SharedPreferences / File / DB
속도 측면 : SharedPreferences > DB> File
SharedPreference는 속도도 빠르기 때문에 간단한 저장을 할 경우에 많이 사용한다.
(DB는 다소 까다롭고 복잡.)
보통 자동 로그인 여부를 판별하기 위한 체크용도, 토큰 값 저장 등에 쓰이는 것 같다.
저장 경로: data/data/패키지명/shared_prefs/SharedPreference명.xml <=에 저장 된다.
저장 형태: Key, Value로 저장된다.
인스턴스 방법 2가지
1. getPreferences(int mode) - 해당 액티비티에서만 사용 가능
2. getSharedPreferences(String name, int mode) - 다른 액티비티에서 사용 가능
환경 설정 파일 'name'의 컨텐츠를 검색하고 보유하여 값을 검색하고 수정할 수있는 SharedPreferences를 리턴.
(getSharedPreferences를 주로 많이 사용한다.)
- SharedPreferences sp =getSharedPreferences("DB", MODE_PRIVATE);
-> DB는 Preference의 이름, MODE_PRIVATE는 모드 설정 부분으로 자기 앱에서만 사용하도록 설정하는 기본 값
color = sp.getInt("color", 0); # color에 0이라는 값을 저장(초기화)
binding.cl.setBackgroundColor(color); # cl (바깥쪽 레이아웃)의 색을 color에서 받은 값으로 지정해 줌
- 0 ~ 255 사이의 RGB 값을 이용한 Color 만들기
binding.btnRandom.setOnClickListener(view -> { # 랜덤버튼을 눌렀을 때
int red = random.nextInt(256); # red에 0~255까지의 값 랜덤으로 저장
int green = random.nextInt(256); # green에 0~255까지의 값 랜덤으로 저장
int blue = random.nextInt(256); # blue에 0~255까지의 값 랜덤으로 저장
int color = Color.rgb(red, green, blue); # RGB 값을 color에 저장
- SharedPreferences.Editor editor = sp.edit(); # editor -> 저장
editor.putInt("color", color); # color라는 key값으로 color 데이터를 저장한다.
editor.commit(); # 저장을 완료한다.
binding.cl.setBackgroundColor(color); # cl (바깥쪽 레이아웃)의 색을 color에서 받은 값으로 지정해 줌
'개발 공부 > 안드로이드 스튜디오(코틀린)' 카테고리의 다른 글
| 안드로이드 스튜디오(gson사용법) (0) | 2023.10.18 |
|---|---|
| 안드로이드 스튜디오(SharedPreferences란?) (0) | 2023.10.18 |
| 안드로이드 스튜디오(노래 재생) (0) | 2023.10.18 |
| 안드로이드 스튜디오(Web 뷰) (0) | 2023.10.18 |
| 안드로이드 스튜디오(로그인 + 플라스크서버) (0) | 2023.10.18 |

